How to add a new course and set it up? Look for the answers in this article and learn how to add and maintain courses with the easy-to-use LMS via frontend builder.
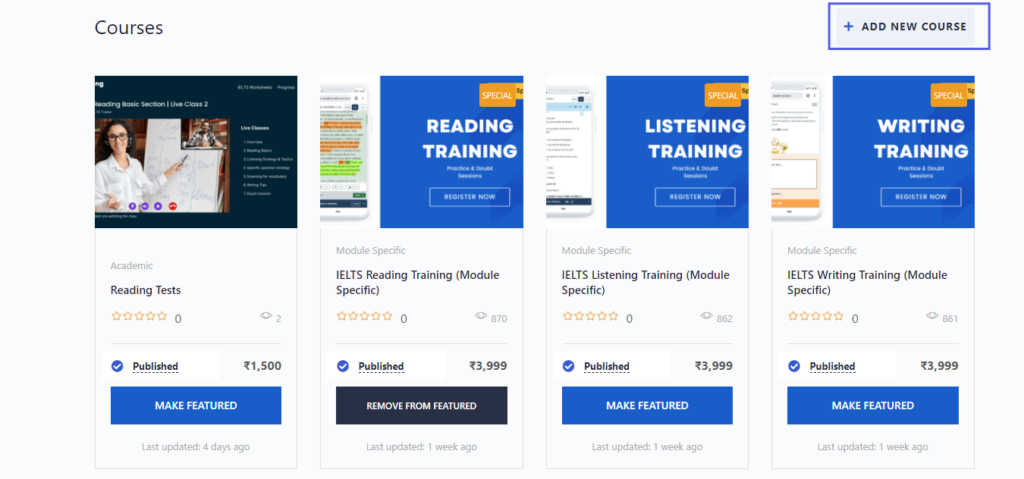
The first thing you need to do is go to the USER Account > Add new course. Click the Add new course button and start creating content for your new course.
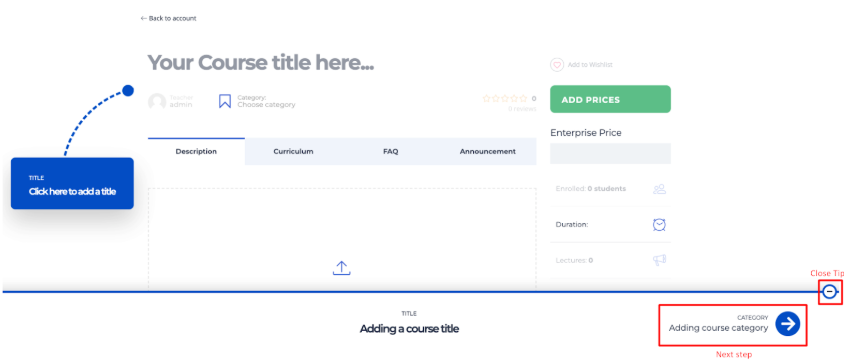
After that, you will be redirected to the course editing page. This page is divided into different sections: content, course curriculum, course settings, and publishing options.
- Add a title to the course and enter the description.
- Reveal the dropdown menu of the Category and choose the option Add new category.
- You can add multimedia content to your course, give it a full description, and add a featured image.
- Here also you can create a proper Curriculum for the course, enter announcements and fill in the FAQ section.
Adding title, Description & featured image #
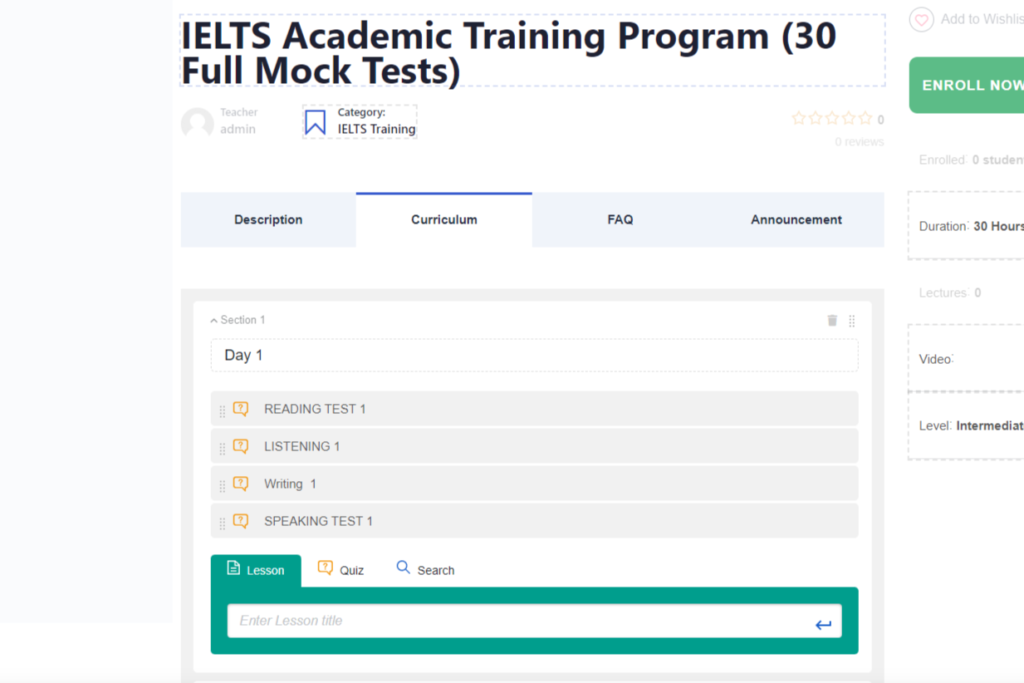
Curriculum #
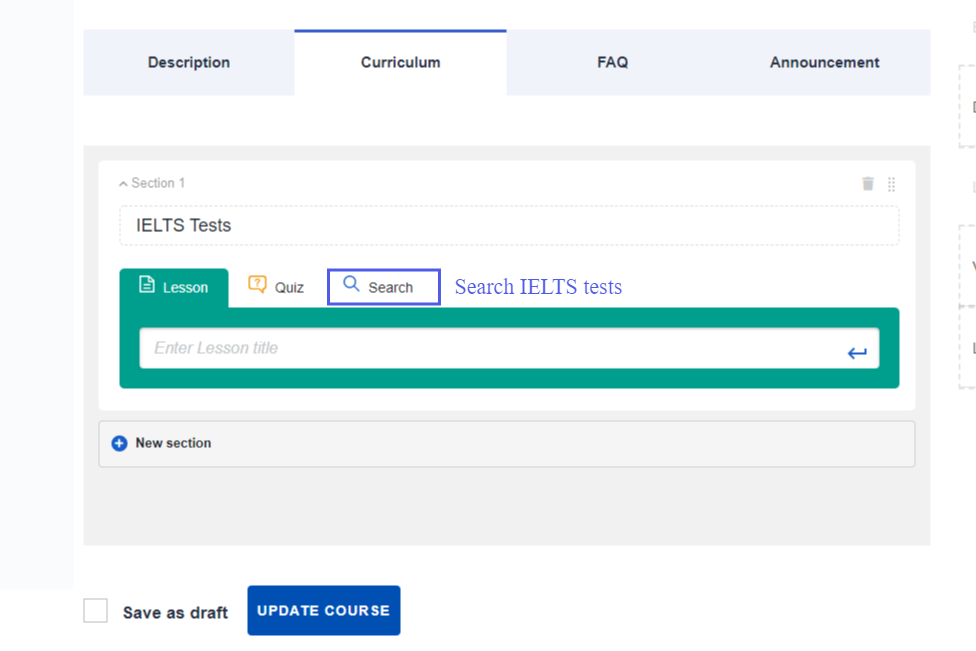
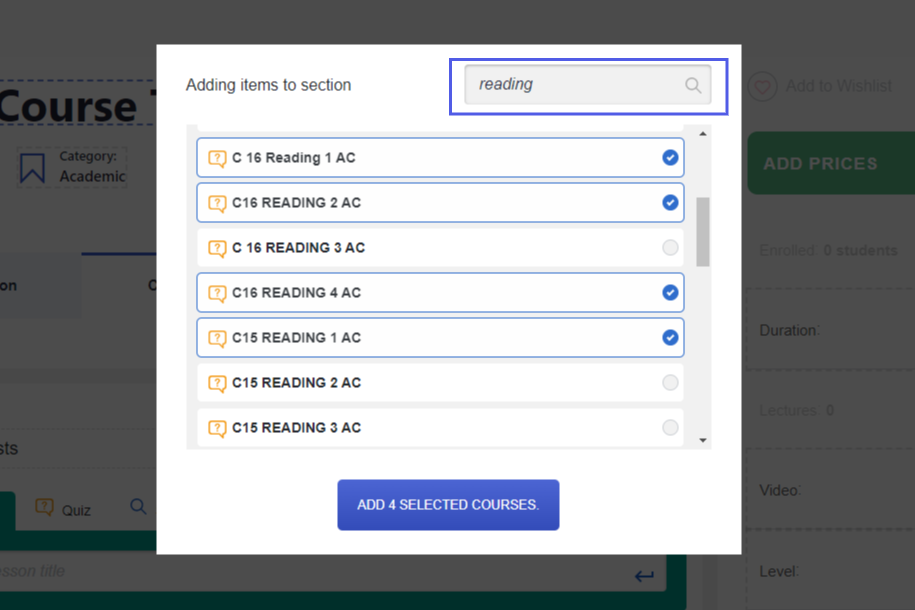
Create a thorough Curriculum for your course. In this step, you can add new sections, video lessons, Zoom classes, IELTS quizzes, and assignments to the course. If you want to add IELTS quizzes, use the Search option and choose one from early created.
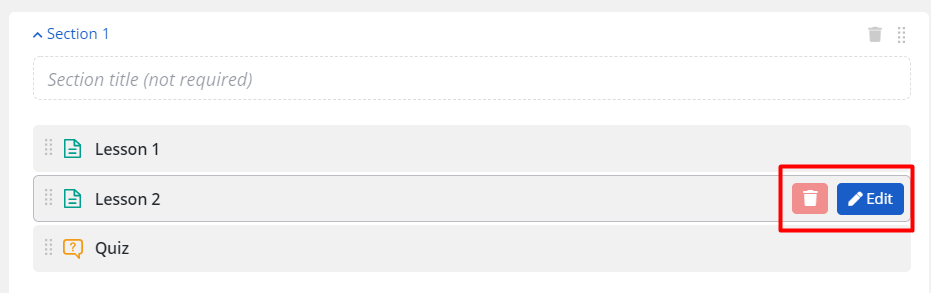
If you want to divide your course into sections, enter their titles. By clicking on Section 1 you can collapse or expand the section content. On the right side, you can find Delete and Move (organize the order of items) options.
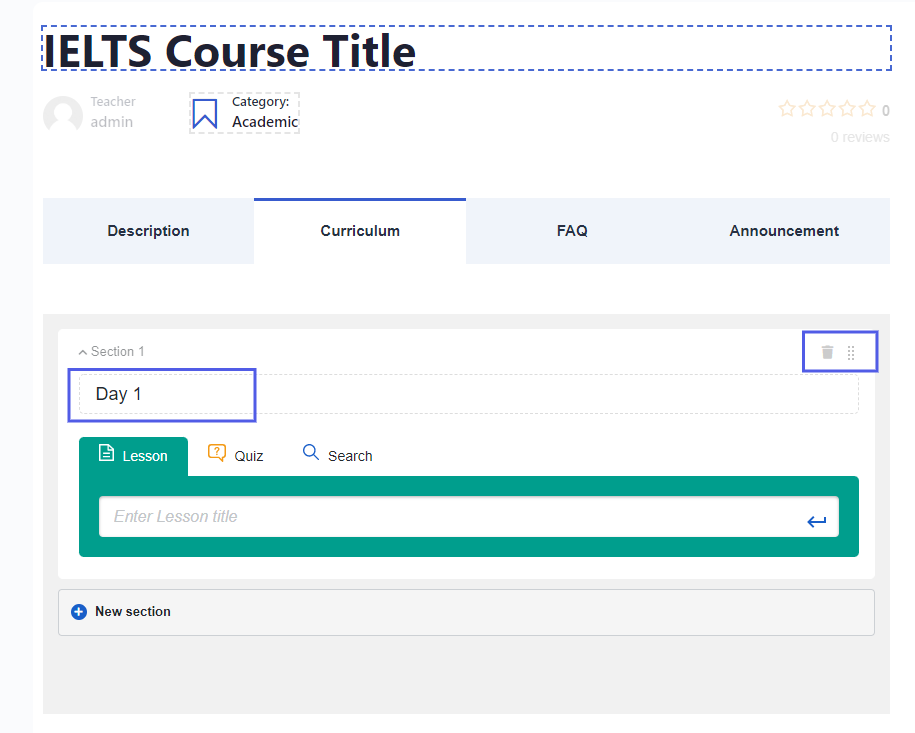
To add a new lesson add its title and click Enter. You can add an unlimited number of lessons. Click on the Edit icon. Add some content to this lesson, choose any format and insert material.
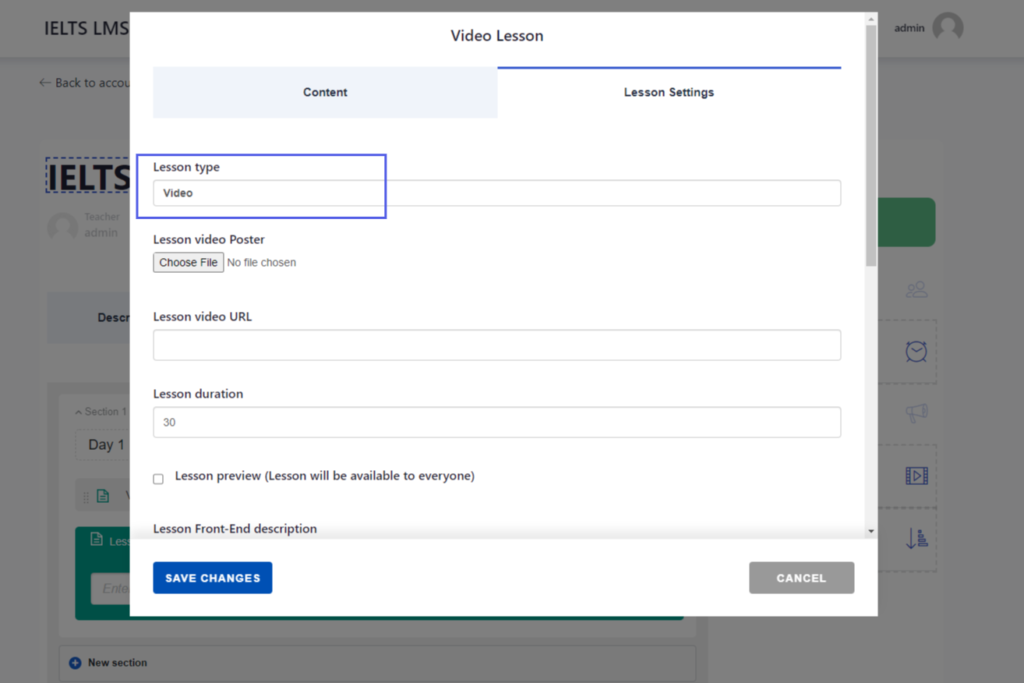
Lesson types available – Text, Video, Slide, Stream, Zoom. Expand the drop-down menu to select an option.
Adding video lesson: #
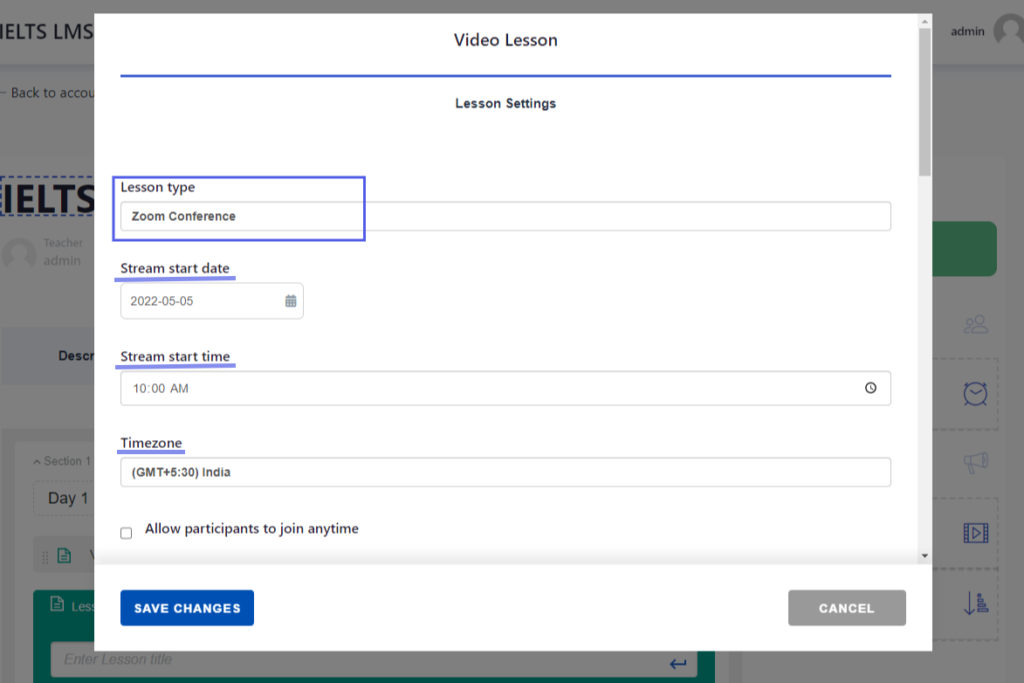
Adding Zoom conference: #
Select the lesson type to zoom conference
- Start Date
- Timezone
- Meeting Password
- Other settings
Adding IELTS Tests #
Course Settings #
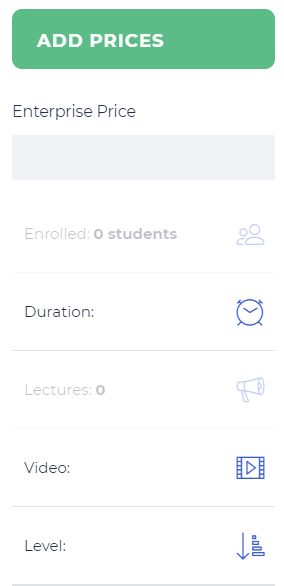
Scroll down the page and go to the Course Settings. Clarify course info and requirements in the Settings section.
Here you can:
- Mark the course as Trial (only if the addon ‘Trial Courses’ is enabled)
- Make the course Featured
- Set course views (beginner, intermediate or advanced)
- Set course level (add new custom Levels in STM LMS Settings > Course)
- Specify the number of current students
- Enter course duration
- Enter the total duration of video materials
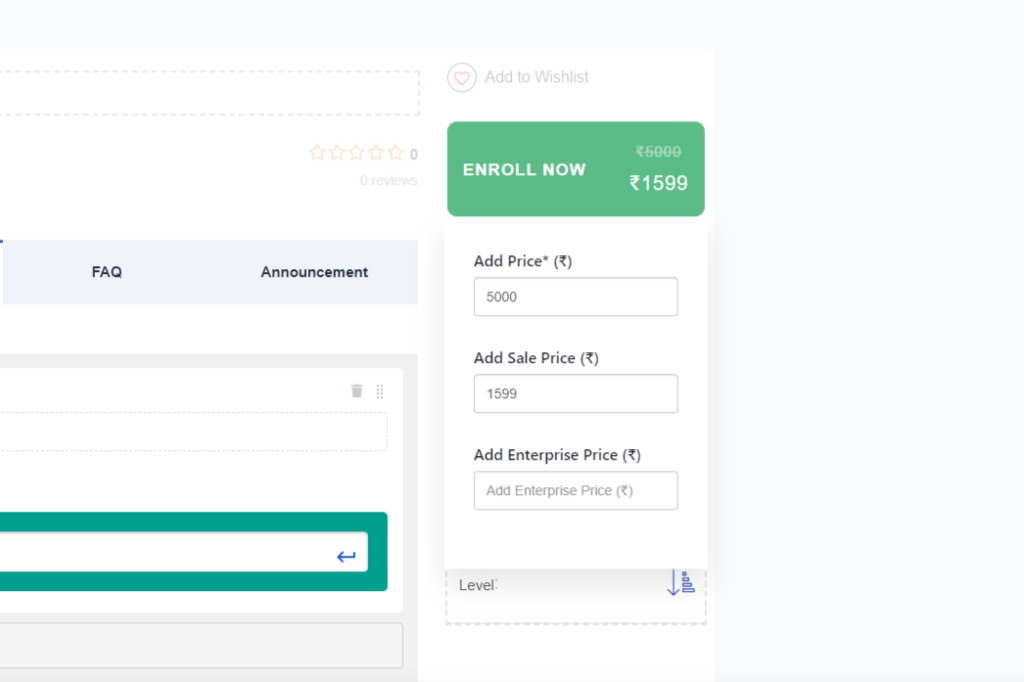
Course Price #
Enable One-time purchase to make the course available for purchase not only through the membership plans. Enter the number in the blank to set the course price, or leave the field empty to make the course free.You can also set the Sale Price, exclude the course from membership and specify the points price.You can enable the options of affiliate course, this includes additional settings such as button text and button link which you can enter.
Expiration #
The Course Expiration function allows you to limit access to the course based on the student’s enrollment date. Follow the Expiration Tab and enable the Time Limit function.
Specify the number of days after which the course will expire.
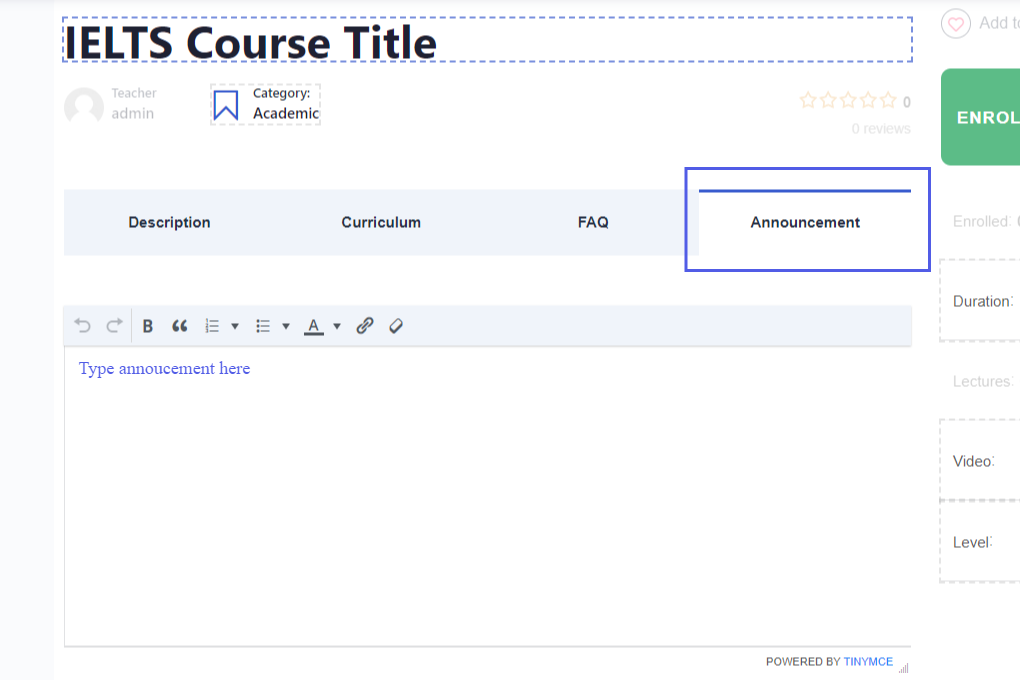
Announcement Tab #
Make important announcements for your learners whenever you need to. Write your text in the space provided.
FAQ Tab #
Create the FAQ section to predict possible misunderstandings. Add one by one: items, questions, and answers.
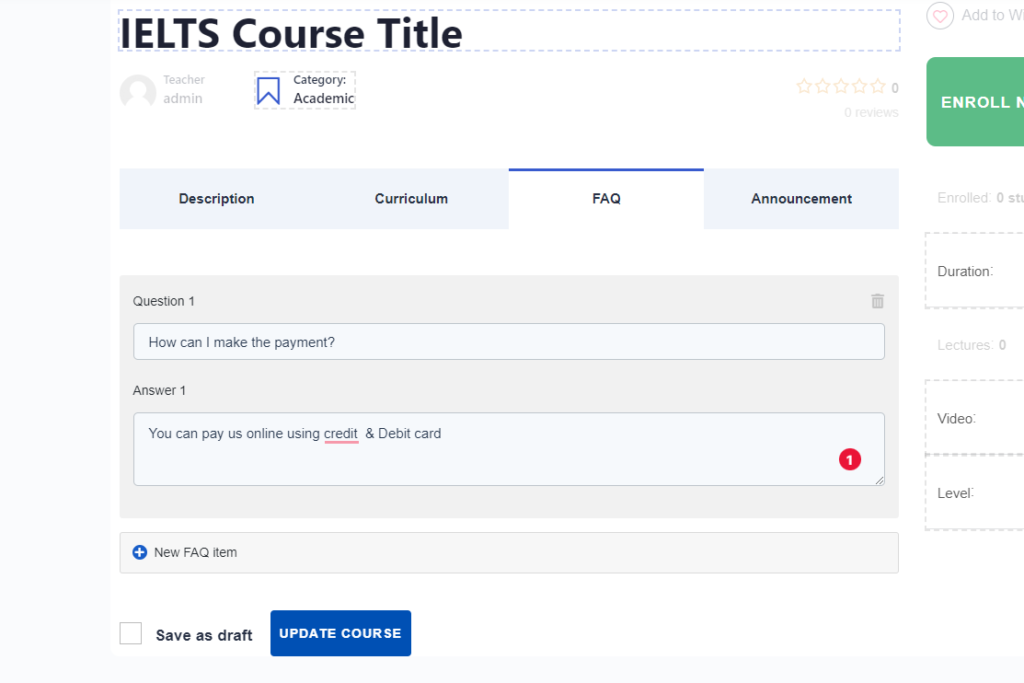
Click on the New FAQ item to add a new question and answer. Enter the question/answer in the spaces provided.
Course Files #
This section allows you to add course materials – simply upload a file of any format. Click on the Plus icon to upload a new file.
Enter the title for the file and click Choose File to browse the file on your PC.